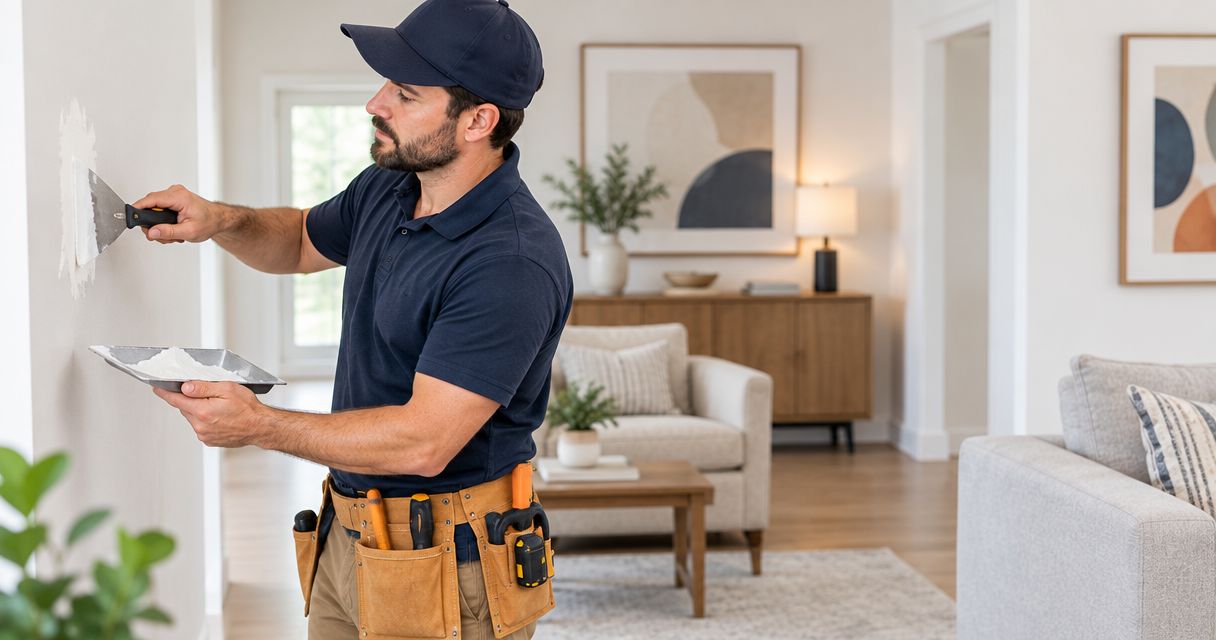
Home stagers’ drywall patch repair is the preparation and repair of damaged drywall with the aim of presenting clean, finished walls in listing photos and showings. For New York City homeowners preparing a Brooklyn or Queens property, the job also means coordinating painting, furniture placement, building access, and the photography schedule.
- Drywall patch repair for home stagers should include surface preparation, paint planning, and inspection before furniture placement.
- Mr. Mitchell's Home Maintenance & Services suits homeowners grouping drywall repairs, painting, and small hardware jobs into one visit.
- Check wall material and the cause of damage before choosing a patching method.
- Schedule photography around completed repairs and product drying instructions, not the appointment date alone.
Why drywall patch repair matters for home stagers
A repaired hole is not necessarily a finished wall. Raised edges, sanding marks, and mismatched paint can remain visible after furniture arrives, particularly when daylight falls across the surface.
For your 2026 staging plan, define completion as a wall ready for its intended view—not simply a filled opening. Include entryways, former picture locations, and walls exposed when you remove furniture.
Mr. Mitchell's Home Maintenance & Services is best for homeowners who want online booking and several small repair jobs handled in one visit. You can schedule an appointment with Mr. Mitchell's Home Maintenance & Services after preparing a clear room-by-room list.
Grouping jobs does not mean every drywall repair and paint coat can finish during the same appointment. Drying requirements and the condition of the wall still determine the sequence.
How to prepare drywall repairs for staging in 2026
Start with inspection, then agree on the finish before anyone patches the wall. These steps help you separate simple cosmetic work from problems that need attention before staging proceeds.
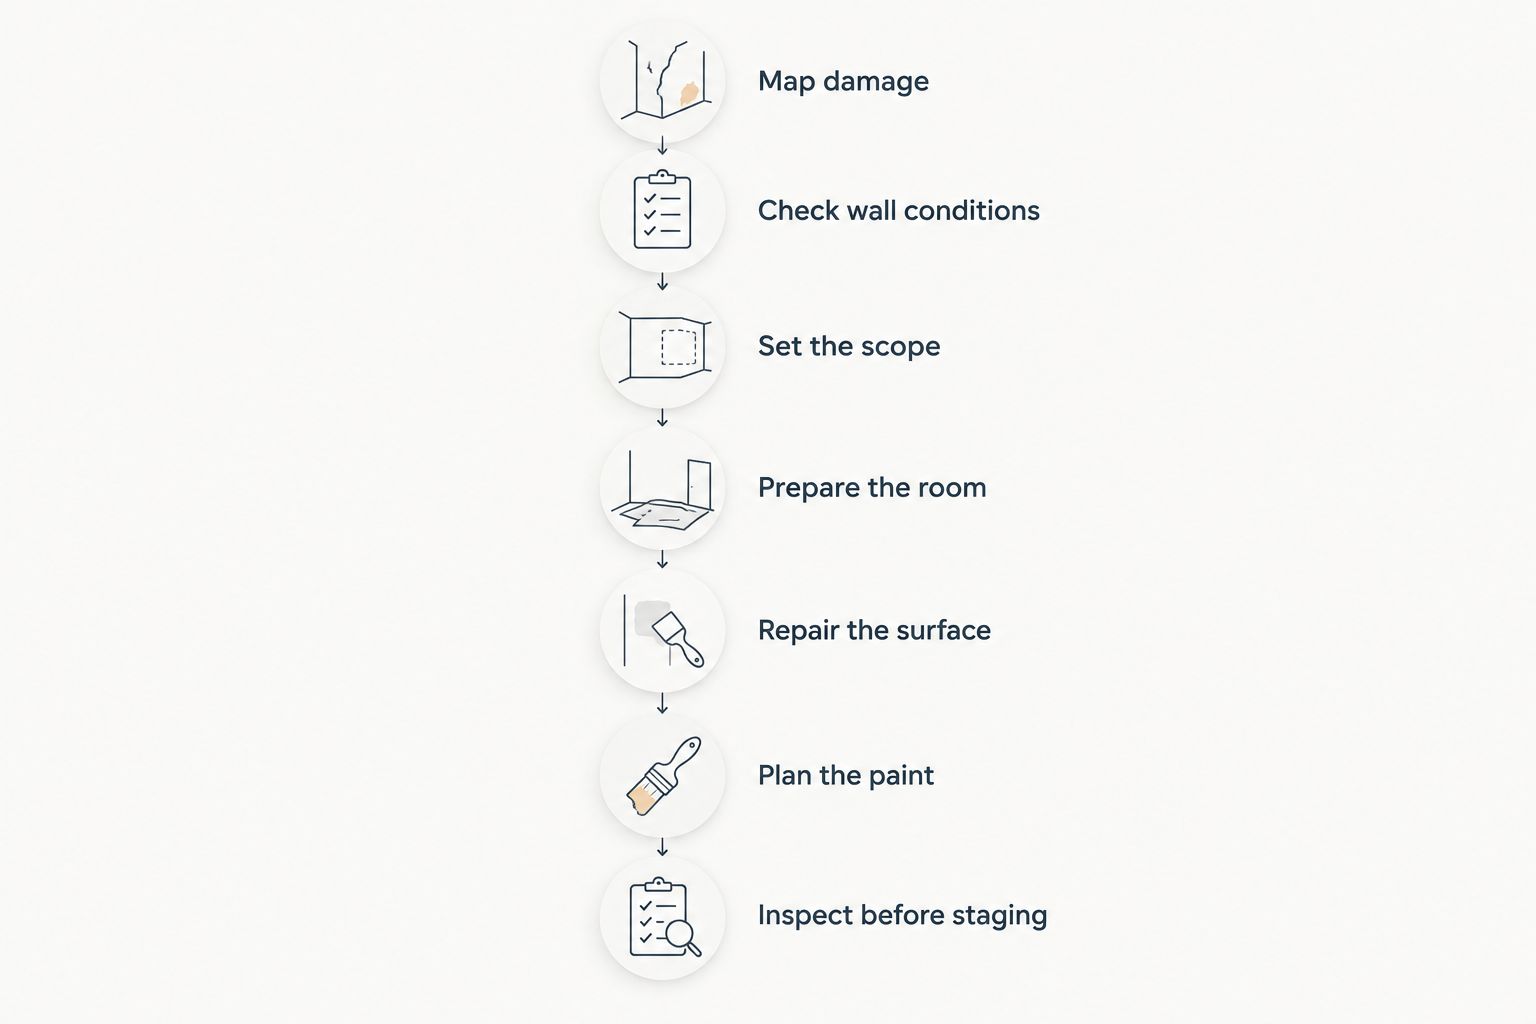
1. Map damage
Walk through the home after deciding which artwork, mirrors, and furniture will move. Removing a large frame can reveal anchor holes, scuffs, or an old touch-up that was previously hidden.
Create one repair list with a room name and location for every defect. Take 3 photos per repair area: a room view, a close-up, and a side view under existing light. Include a ruler beside the damage when practical, without pressing it into loose material.
Distinguish damage from a change you want to make. Removing a shelf and patching its mounting points is a different scope from repairing an existing hole.
- Record nail holes, anchor holes, dents, and torn drywall paper separately.
- Photograph damage before moving furniture in front of it.
- Mark areas that will remain visible in listing photos.
- Note shelves or wall-mounted items that must come down first.
- Keep the list organized by room rather than by memory.
2. Check wall conditions
Confirm that the damaged surface is drywall before choosing materials. An apartment wall can have plaster or another substrate; a drywall repair method is not automatically appropriate for every painted surface.
Look for moisture, staining, softness, loose material, and recurring cracks. Do not cover an unresolved wall problem to meet a photography deadline. Active moisture needs its cause addressed before a cosmetic patch proceeds.
For older painted surfaces, ask about applicable lead-safe preparation requirements before sanding or disturbing paint. Avoid cutting into an unfamiliar wall or investigating concealed services yourself.
- Describe whether the wall feels firm, soft, damp, or crumbly.
- Identify any recent leak affecting the repair area.
- Report cracks that have returned after previous repairs.
- Ask whether the wall material needs confirmation in person.
- Flag damaged areas near outlets, switches, or plumbing fixtures.
3. Set the scope
Write down the result you want: filled holes, a smooth surface, priming, painting, or a combination. A request to patch drywall does not by itself establish whether the entire wall will be painted.
Start with your own checklist and photos. Then use easy online booking with Mr. Mitchell's Home Maintenance & Services to arrange the repair appointment and discuss grouping confirmed services, such as drywall repairs, painting, furniture assembly, wall mounting, and door or cabinet hardware repairs.
A grouped visit is useful when several small jobs need attention, but the list still needs priorities. Review what to ask before booking drywall hole repairs before setting the final scope.
- Specify whether preparation, patching, priming, and painting are requested.
- Identify who will supply paint and other agreed materials.
- Put photo-facing wall repairs ahead of optional cosmetic tasks.
- Include loose cabinet pulls or door hardware on the same list.
- Confirm which tasks fit the planned appointment.
4. Prepare the room
Clear the work area before the repair visit rather than after the appointment begins. Move staging furniture, artwork, fragile objects, and rugs away from the affected wall.
Brooklyn and Queens homeowners should also confirm their building’s access arrangements. Share applicable entry instructions, work-hour restrictions, elevator procedures, and protection requirements instead of assuming the repair professional already knows them.
Keep paint cans, hardware, and assembly instructions together where they are easy to identify. If a homeowner and stager are coordinating remotely, name the person authorized to approve a change in scope.
- Clear a route from the entrance to each repair area.
- Move décor and furniture away from the wall.
- Arrange entry and any required building permissions.
- Gather labeled paint containers and relevant hardware.
- Identify the person responsible for on-site decisions.
5. Repair the surface
For a small, dry cosmetic defect, the manual approach starts with removing loose material and using a repair product appropriate to the damage. Follow the product instructions for application, drying, sanding, and priming.
Larger openings need a suitable patching method and support rather than filler pushed into an empty cavity. Torn drywall paper also needs appropriate preparation; covering unstable paper does not create a sound finish.
If you are handling the work yourself, keep the repair area controlled and avoid sanding unknown coatings. If you book the work, agree on the scope without prescribing a method before the wall has been assessed.
- Remove loose material without enlarging the damage unnecessarily.
- Use a repair method suited to the opening and substrate.
- Follow the repair product’s drying instructions.
- Check patch edges for ridges before painting.
- Keep dust away from staged furniture and textiles.
6. Plan the paint
Treat paint matching as a separate decision from filling the hole. Color, sheen, texture, and the condition of the existing finish all affect whether a touch-up blends into the surrounding wall.
Keep the original paint container if you have it, including its label. Do not assume paint with the same color name will make an invisible spot repair on an aged or previously touched-up surface.
For a 2026 listing, decide whether the goal is a localized touch-up or a consistent finish across the visible wall. Whole-wall painting expands the scope, but it avoids relying solely on a small spot blend when appearance matters most.
- Record the existing color and sheen when known.
- Identify previous touch-ups before selecting a painting approach.
- Confirm priming requirements for the repair materials.
- Decide between spot painting and painting the full wall.
- Follow paint instructions before replacing items against the surface.
7. Inspect before staging
Inspect the repair before furniture and artwork hide the edges. Use 2 lighting checks: daylight and the room’s installed lighting. Look both straight at the wall and across it from an angle.
Take a test photo from the intended listing-camera position. This is a practical appearance check, not a substitute for an in-person inspection of the finish.
For your 2026 photography schedule, confirm that patching, painting, and the required drying stages are complete before final furniture placement. An appointment date alone does not establish that the wall will be ready to photograph.
- Check for ridges, depressions, sanding marks, and visible patch borders.
- Compare paint sheen from different viewing angles.
- Review a test image from the planned photo position.
- Confirm the surface is ready before replacing wall-mounted items.
- Record unresolved issues before approving the staging setup.
Book your grouped repair visit
Prepare your drywall, painting, and small hardware repair list before scheduling online.
Compare repair options for home staging
Choose the approach by wall condition, desired finish, and your ability to manage the work. The smallest repair scope is not always the right scope for a wall that will feature prominently in photographs.
| Option | Best for | Main advantage | Key limitation |
|---|---|---|---|
| DIY cosmetic patching | Homeowners with isolated, dry surface defects and a known substrate | You control preparation and the work sequence | You handle material selection, finish quality, dust, and drying stages |
| Grouped appointment with Mr. Mitchell's Home Maintenance & Services | Homeowners combining drywall, painting, and other confirmed small repairs | Online booking and several small jobs handled in one visit | Grouping tasks does not remove drying requirements or guarantee completion of every stage in one appointment |
| Patching followed by whole-wall painting | Photo-facing walls where spot blending is unsuitable | The paint scope covers the visible wall rather than only the patch | More surface preparation, room protection, and painting are involved |
| Cause assessment before cosmetic work | Damp, soft, stained, or repeatedly damaged areas | Keeps an unresolved condition from being hidden by a patch | Cosmetic completion waits until the underlying issue is addressed |
When comparing estimates, compare the included work rather than the label “drywall repair.” Ask whether protection, preparation, patching, priming, painting, materials, and cleanup are included. Keep your 2026 staging checklist separate from the agreed repair scope so optional styling changes do not become accidental requirements.
Common mistakes home stagers make
Booking photography before confirming the finishing sequence
A patching appointment is not the same as a paint-ready or photo-ready deadline. Confirm the stages with the person doing the work, then place photography after the required drying and finishing steps.
Removing wall décor after the repair list is approved
A mirror or shelf can hide several mounting points and an uneven paint outline. Decide what stays and what moves before documenting the walls, so the repair list reflects the final staging layout.
Asking for a patch when the real goal is an even painted wall
A sound patch can still stand out because of sheen or color differences. State the presentation goal clearly and decide whether localized painting meets it before the work begins.
Grouping jobs without ranking them
Drywall, cabinet hardware, furniture assembly, and wall mounting can belong on one list, but they are not interchangeable priorities. Identify the work that must be complete for staging and separate it from optional improvements.
Hiding a questionable wall behind furniture
A chair can conceal a stain in a photograph without resolving its cause. Report dampness, softness, or recurring damage and address the condition before treating the area as a cosmetic repair.
FAQ
What does drywall patch repair for home stagers include?
Drywall patch repair for home stagers involves repairing wall damage so the surface can be prepared for presentation. Confirm whether the scope includes priming and painting, because filling a hole alone does not establish a finished paint result.
Should I patch walls before or after moving staging furniture?
Identify damage after deciding which furniture and wall décor will move, then complete repairs before final staging placement. Clear the work area so furniture does not block preparation, painting, or inspection.
Can drywall patching and painting happen in one visit?
One-visit completion depends on the repair, materials, wall condition, and required drying stages. Confirm the sequence before booking photography; grouping small jobs does not eliminate drying requirements.
Is spot painting better than painting the whole wall?
Spot painting suits repairs where the existing finish can be acceptably matched; whole-wall painting suits situations where a localized blend is unsuitable. Compare color, sheen, texture, and visibility before deciding.
Can I include cabinet repairs with drywall work?
Mr. Mitchell's Home Maintenance & Services handles several small jobs in one visit, including confirmed services such as drywall repairs and door or cabinet hardware repairs. Provide the complete list and confirm the appointment scope before the visit.
What should I do if the damaged wall is damp?
Address the moisture source before proceeding with a cosmetic drywall patch. Report staining, softness, and any recent leak so the repair is not planned as a simple dry-surface defect.
How do I compare drywall repair estimates for staging?
Compare the included tasks and intended finish, not just the repair label. Check preparation, protection, patching, priming, painting, materials, and cleanup against the same room-by-room list.
One last thing
Make the final wall check before rehanging artwork, not after. Inspect the uncovered repair under the lighting you expect to use, then return furniture and décor only when the surface is ready. That keeps styling from concealing a finish issue until the listing photos reveal it.