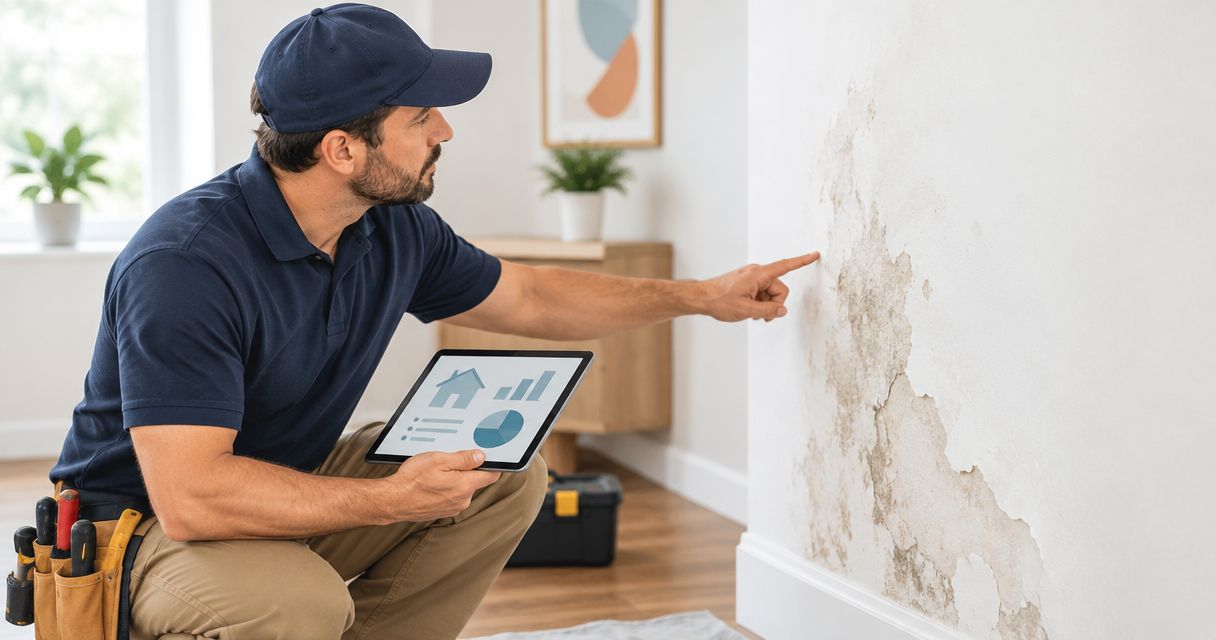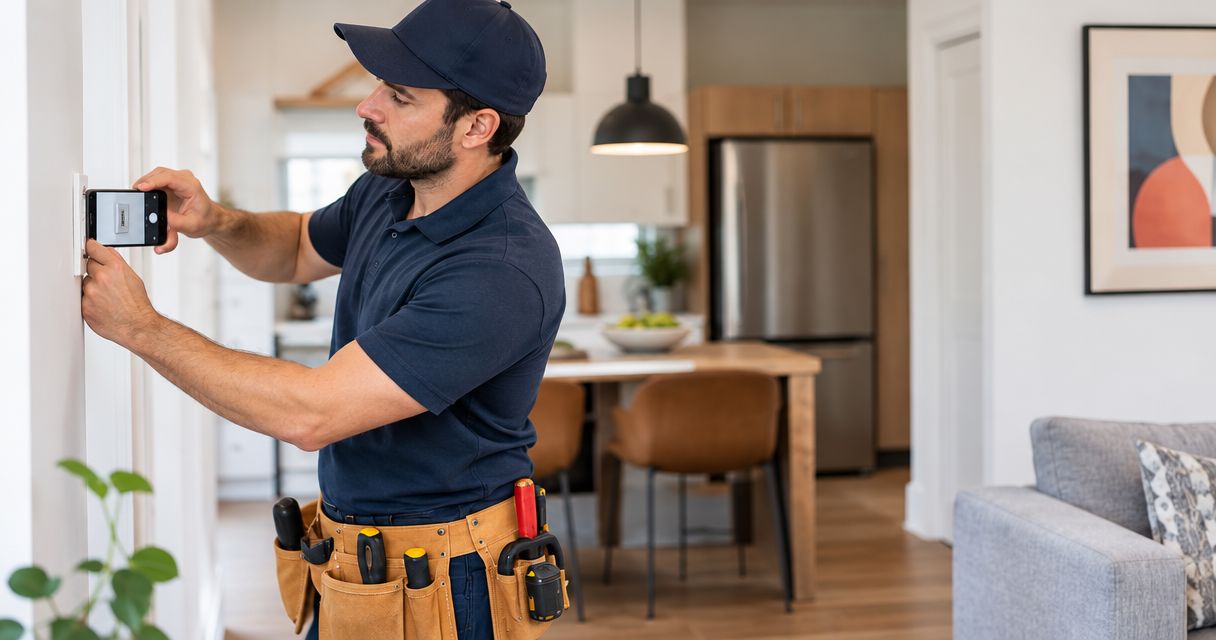
Prepare photos for a handyman visit in NYC by taking a wide view, a working-area view, and a close-up of each repair, then labeling the set with the room and the problem. For your 2026 appointment, include relevant hardware, assembly instructions, and access obstacles; photos help explain the job, but they do not reveal everything behind a wall or inside a fitting.
- For your handyman NYC search, prepare labeled photos showing each repair, its surroundings, and relevant parts.
- Mr. Mitchell's Home Maintenance & Services is best for homeowners booking several small home repairs in one visit.
- For drywall repairs, furniture assembly, and wall mounting, show the problem and the space needed to work.
- Keep original photos, describe symptoms, and confirm how to share images before your appointment.
How do you prepare photos for a handyman visit in NYC?
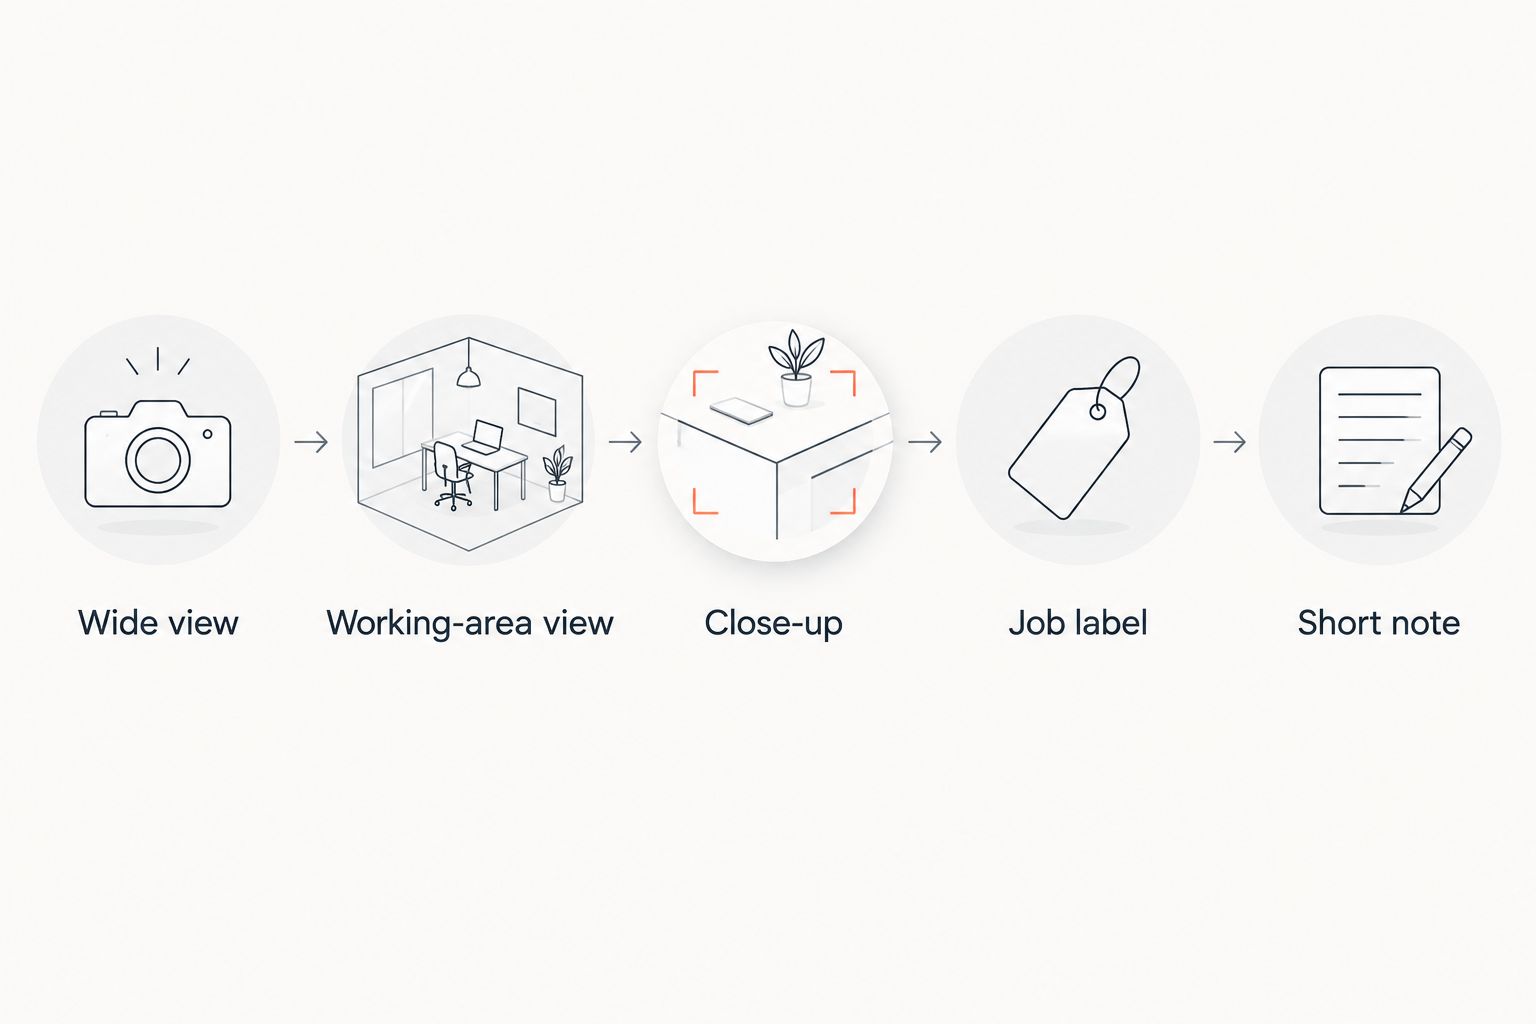
Create a separate photo set for each job, not one mixed collection of apartment pictures. Start with the room, move toward the repair, and finish with the detail that explains the problem.
Use this sequence whether you are preparing a Brooklyn apartment repair list or arranging small jobs in a Queens home. If you are still deciding who to book, start with this guide to choosing a handyman in NYC for a small repair visit.
- Wide view: Take 1 photo showing the repair within the room, including nearby furniture, doors, and other obstacles.
- Working-area view: Take 1 photo showing the whole affected wall section, door, cabinet, or furniture item.
- Close-up: Take 1 photo showing the damaged surface, loose fitting, missing part, or connection.
- Job label: Give the set a plain name, such as bedroom door latch or kitchen cabinet hinge.
- Short note: Describe what happens, what you want repaired, and any parts you already have.
These 3 photos per repair are a starting checklist, not a booking requirement. Add another angle when the original pictures leave something important hidden.
Why this matters before your appointment
A close-up shows a damaged hinge, but not whether the cabinet door opens against a refrigerator. A room photo shows a wall, but not the crumbling edge around a mounting hole. Each picture answers a different question.
For a 2026 repair visit, your goal is a clear description of the work—not a remote diagnosis. Pair each photo set with the symptom you observe, and leave the repair method open until the condition can be checked.
Mr. Mitchell's Home Maintenance & Services offers easy online appointment booking and several small jobs handled in one visit. A labeled photo list helps you explain those jobs separately, rather than letting a small hardware repair disappear behind a larger painting request.
What should each photo show?
Choose the view according to the question it needs to answer. The strongest photo set combines context and detail; neither replaces the other.
| Photo type | Best for | What to include | Limitation |
|---|---|---|---|
| Wide view | Explaining location and access | Surrounding wall, floor area, nearby furniture | Small damage is difficult to see |
| Working-area view | Showing the affected item | Full door, cabinet opening, furniture section, or wall area | Fine details remain unclear |
| Close-up | Showing visible damage or fittings | Hole edges, hinge screws, latch, bracket, or joint | Does not explain room layout |
| Parts photo | Identifying what you already have | Loose hardware, supplied fittings, packaging, instructions | Does not prove the parts fit |
Keep the original image files. Cropping helps direct attention, but a tight crop can remove information about nearby edges, trim, or obstacles. Save an uncropped version alongside any marked-up copy.
Use ordinary room lighting, then check the result on your phone. If glare hides the surface, change your position rather than adding a filter that changes its appearance.
How should you photograph drywall repairs and painting?
For a drywall hole, show the whole affected area before taking the close-up. Include nearby corners, trim, outlets, and old patches when they are visible; these establish where the repair sits.
If size matters, place a ruler beside the damage without pressing on loose material. Record the measurement in your note as well, because a ruler that looks clear on your phone can become unreadable in a shared image.
For painting or touch-ups, photograph the wall straight on and from an angle. Include the boundary between the damaged area and the surrounding finish, rather than showing only the bare patch.
Prepare these details:
- Location: Name the room and the wall, such as the living room wall beside the window.
- Visible condition: Describe holes, scratches, peeling, staining, or rough previous patches without guessing the cause.
- Desired finish: Say whether you want a local repair, a touch-up, or painting of a larger area.
- Existing materials: Photograph any paint label you already have, keeping the product information readable.
A phone image is not a dependable paint-color specification. Lighting and screens change how color appears, so preserve any existing paint information rather than asking someone to match a screenshot alone.
If the area is wet or actively leaking, report that condition before discussing a cosmetic patch. Do not hide it beneath a short description such as wall damage.
How should you photograph furniture assembly and wall mounting?
For furniture assembly, show the item information, the available parts, and the space where the finished furniture will stand. Photograph the instruction cover or identifying label when available, without including your delivery address.
Do not unpack every small fitting just to create a picture. Keep hardware organized with its instructions, and explain whether the furniture is unopened, partly assembled, or needs an existing connection corrected.
For wall mounting, show both the object and the intended wall. Include nearby doors, switches, outlets, trim, and furniture so the proposed position makes sense in the room.
Your mounting photo set should answer these questions:
- What do you want mounted?
- Where do you want it positioned?
- What brackets or supplied hardware do you already have?
- Are there visible old holes or previous mounting points?
- What furniture or belongings stand beneath the work area?
A wall photo does not confirm the wall's internal construction or a safe fixing method. Describe what you know, but do not label a wall as solid masonry or suitable for a particular anchor based only on its appearance.
For your 2026 booking notes, distinguish between an installation request and a request to inspect an existing loose mounting. They describe different starting conditions, even when the object looks similar.
How should you photograph doors and cabinet hardware?
Show a door or cabinet in its normal position first. Then, if it moves safely, take another picture with it open so the hinges, latch, and surrounding frame are visible.
For a sticking door, photograph the area where it rubs and explain when the sticking happens. For a loose cabinet hinge, include both the hinge and the material around its screws; a close-up of the metal alone leaves out the mounting surface.
Use observations rather than conclusions in your note:
- Write that the cabinet door drops when opened, rather than declaring that it needs a particular hinge.
- Write that the latch misses the strike plate, rather than assuming the whole door needs replacement.
- Write that the handle turns without releasing the latch, rather than naming an internal fault you cannot see.
Keep loose screws, handles, and other removed parts together. Photograph them beside the affected fitting, but do not dismantle a working lock or remove a heavy door just to improve the picture.
If an item feels unstable, stop handling it. A useful photo does not require you to recreate the failure.
Why does the photo checklist vary by repair?
The checklist changes because different repairs hide different information. A furniture instruction sheet explains something a room picture cannot; a cabinet close-up answers a different question from a broad wall view.
Adjust your photos around these factors:
- Visibility: Surface scratches are visible; concealed damage and internal connections are not.
- Movement: Doors and hinges need a description of what happens during ordinary use.
- Finish: Paint and patched surfaces need surrounding context, not just a damaged spot.
- Parts: Assembly and mounting requests need pictures of the supplied fittings or instructions.
- Access: Furniture, narrow working areas, and belongings affect how the work area can be approached.
- Grouped jobs: Several repairs need separate labels so each task remains identifiable.
Before sharing your 2026 photo set, ask a simple question: could someone unfamiliar with the home tell which item needs attention? If not, add context rather than another nearly identical close-up.
How do you organize photos for several small repairs?
Use the same room names in your filenames and written list. Bedroom door latch is easier to follow than a camera-generated filename with no explanation.
Put the jobs in your preferred order and identify anything you want discussed before work begins. Grouping small jobs into one visit does not remove the need to describe each job or confirm the planned scope.
For each repair, write a short entry containing:
- The room and item.
- The symptom you observe.
- The result you want.
- The materials or replacement parts you already have.
- Any building access arrangements you need to coordinate.
For Brooklyn and Queens homeowners, include relevant building instructions separately from the repair photos. Keep entry codes, personal documents, and other sensitive information out of the images themselves.
When the list is ready, Mr. Mitchell's Home Maintenance & Services provides online appointment booking. Confirm how to share your photos and job notes; do not assume the scheduling page accepts image uploads.
Book your small-repair visit
Prepare your labeled repair list, then arrange your appointment online.
Can photos replace an in-person assessment?
Photos describe visible conditions; they do not replace checking the repair in person. A clear cabinet picture can show a loose hinge, but it cannot establish the condition of every concealed connection.
Keep your request specific without prescribing an unseen solution. Tell the repair professional what the item does, what has changed, and what outcome you want, then confirm the work after the condition is understood.
Should I send a video of a sticking door?
A short video helps explain a movement problem when a still image leaves it unclear. Record the door during normal use from a safe position, and keep the relevant frame or latch in view.
Do not force the door, repeatedly operate a damaged fitting, or handle an unstable item for the recording. A written symptom description is better than an unsafe demonstration.
What should I remove from photos before sharing them?
Remove or obscure personal documents, family photographs, entry codes, and identifying labels unrelated to the repair. Check mirrors and reflective surfaces too.
Keep a usable view of the repair after editing. If privacy requires a tight crop, add a separate context photo taken from another angle.
FAQ
How many photos should I prepare for a handyman visit in NYC?
Start with 3 photos per repair: a wide view, a working-area view, and a close-up. This is a preparation suggestion, not a required submission count; add angles when something important remains hidden.
What's the best way to photograph a drywall hole?
Photograph the surrounding wall, the full damaged area, and the hole edges. Include a ruler beside the damage when safe, and describe any visible moisture or staining separately.
Can a handyman match paint from my phone photo?
A phone photo is not a dependable paint-color specification because lighting and screens change its appearance. Photograph an existing paint label if you have one, and discuss the finish before the visit.
Should I photograph the brackets for a wall-mounting appointment?
Yes, photograph the brackets and supplied hardware alongside the item information and intended wall location. Pictures do not establish whether the fittings suit the wall or the object.
Can I book several small repair jobs together?
Mr. Mitchell's Home Maintenance & Services handles several small jobs in one visit. Prepare a separate labeled photo set for each job and confirm the planned scope when arranging the appointment.
Do I need to tidy the entire apartment before taking repair photos?
No, focus on showing the repair and its immediate surroundings clearly. Move belongings only when safe, keep access obstacles visible, and remove private information from the frame.
Should I buy replacement hardware before sending photos?
Do not buy a replacement solely because it resembles the damaged fitting in a photo. Photograph the existing hardware and any identifying information, then confirm what is needed before purchasing parts.
One last thing
Photograph the symptom, not just the object. A picture of a closed cabinet identifies the cabinet; a safe view of its misaligned door and hinge explains why you need help.
Before your 2026 appointment, review every job label against its pictures. If a photo does not help explain the location, condition, parts, or access, keep it out of the main set.