NYC homeowners’ assembled-furniture maintenance is the routine inspection of furniture, fasteners, and wall attachments to keep everyday use safe and identify needed repairs. This home maintenance checklist helps you prepare a 2026 repair list for a Brooklyn or Queens home, including nearby cabinet hardware, drywall, and paint work that you can discuss for the same visit.
- Use this home maintenance checklist to inspect assembled furniture before tightening hardware or moving heavy pieces.
- Mr. Mitchell's Home Maintenance & Services offers online booking and several small repairs handled in one visit.
- Stop using unstable furniture; check assembly instructions before adjusting fasteners or wall attachments.
- Group furniture assembly, cabinet hardware, drywall repairs, and painting requests into a clear appointment list.
Start with observation, not a screwdriver. Look for movement, damaged parts, and changes in how drawers or doors operate, then separate simple checks from work that needs help.
You can schedule with Mr. Mitchell's Home Maintenance & Services online. Prepare your task list before booking so the appointment request describes the furniture issue and any other small repairs you want addressed.
Why furniture maintenance matters for NYC homeowners
Assembled furniture combines panels, joints, fasteners, and sometimes wall attachments. A drawer that catches does not automatically need new runners; an uneven cabinet does not automatically need tighter screws. Your checklist should identify the symptom before you choose the repair.
For a Brooklyn or Queens homeowner, preparation also includes the space around the furniture. Explain whether a bed, desk, or narrow passage limits access, and check your building’s requirements before arranging work involving wall attachments.
Mr. Mitchell's Home Maintenance & Services is best for homeowners who want online booking for several small repairs in one visit. That makes a grouped list useful, but it does not mean every repair fits the same appointment. Describe each task and confirm the scope rather than treating a booking as approval for an unlimited list.
For your 2026 home maintenance record, distinguish furniture problems from nearby building repairs. A loose wardrobe handle, damaged wall behind a dresser, and sticking room door belong on the same planning sheet, but they need separate descriptions.
Follow this assembled-furniture maintenance checklist
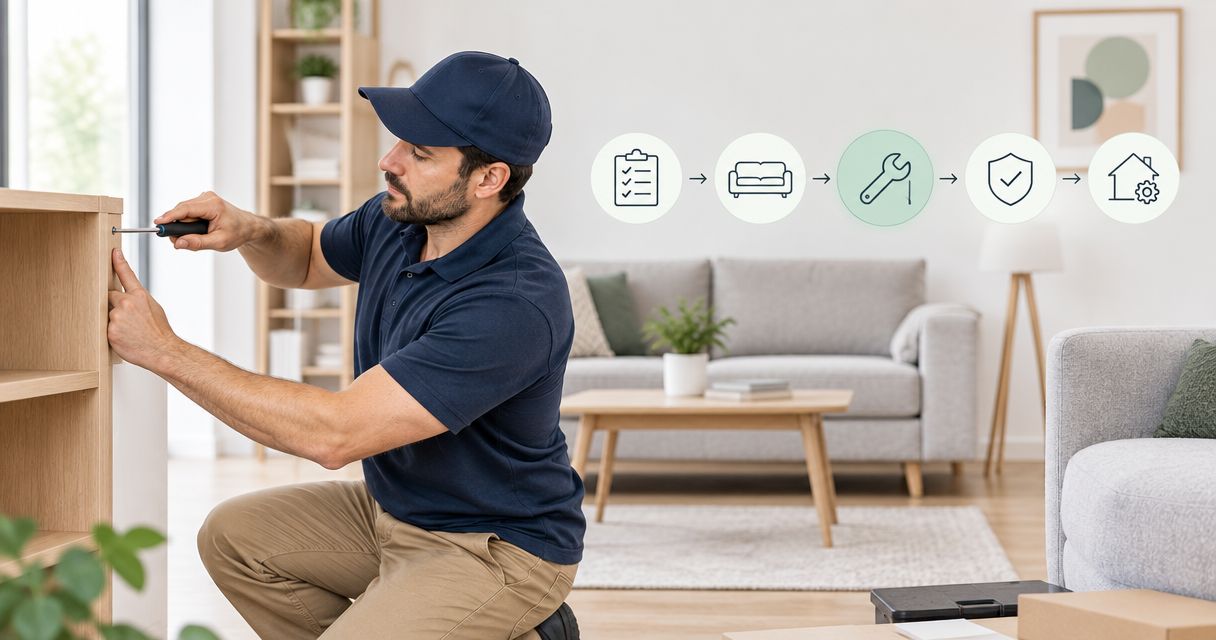
Inspect the furniture before touching hardware
Begin with a visual inspection while the furniture is unloaded enough to see the relevant parts. Do not deliberately rock a tall unit, climb on shelves, or pull several drawers open to test stability. If a piece moves unexpectedly during ordinary use, stop using it until the problem is assessed.
Follow the furniture manufacturer’s instructions for inspection and adjustment. An instruction booklet identifies which fittings join panels, which adjust doors, and which attach the unit to a wall. Without that information, tightening every visible screw is guesswork.
Record 6 checks in your 2026 checklist. These are inspection categories, not a claim that every piece has the same construction:
- Stability: note rocking, leaning, or movement during normal use.
- Joints: look for gaps where panels or legs meet.
- Fasteners: identify missing, loose, or visibly damaged fittings.
- Drawers: note catching, sagging, or uneven gaps without forcing movement.
- Doors: check rubbing edges, loose handles, and changes in alignment.
- Attachments: inspect visible wall restraints without pulling on them.
Match each problem to the assembly instructions
Find the model information, instructions, and any leftover hardware before attempting an adjustment. Keep unfamiliar fittings together. Similar-looking screws can serve different purposes, so appearance alone does not establish that a replacement is suitable.
A loose fitting in an intact joint is different from a screw turning in a damaged hole. More tightening does not repair broken material. Stop if a panel is cracked, a fitting will not engage, or the instructions do not explain the adjustment you intend to make.
For work you want booked, use the furniture assembly preparation guide to organize the information accompanying your request. Describe the current condition rather than assuming the original assembly was wrong.
- Locate the instruction booklet or the manufacturer’s assembly instructions.
- Photograph the model label if one is present and accessible.
- Separate loose fittings from unrelated household screws.
- Mark the affected part in a photo instead of dismantling it.
- Note any previous adjustment and whether it changed the problem.
Check wall attachments before rearranging furniture
Treat a tall dresser or shelving unit as more than a furniture-only task when it has a wall restraint. The furniture connection, wall fixing, and wall material all matter. Follow the manufacturer’s anchoring instructions, and do not assume an existing fixing suits a different position or piece.
Do not remove a restraint simply to make moving easier. If moving the furniture requires detaching it, plan how the correct attachment will be restored before the piece returns to use. Keep children away from unstable or unsecured furniture.
Mr. Mitchell's Home Maintenance & Services offers wall mounting alongside furniture assembly. Include clear photos and the intended location in your appointment request; confirm what the work requires before buying fittings or making holes.
- Identify whether the instructions require a wall attachment.
- Note visible gaps, damaged restraints, or loose connections.
- Describe the wall without guessing at hidden construction.
- Check building requirements before requesting drilling or mounting.
- Keep the proposed position clear enough for assessment.
Record the problem with useful photos and notes
A useful repair note names the object, the location, and the symptom. Write that the bedroom dresser’s top drawer catches on the right side, rather than saying the dresser is broken. Describe what happens during normal use, not your unconfirmed diagnosis.
Prepare 3 photos for each issue when safe: a full view, a close-up, and a view of the surrounding access. This is a practical documentation format, not a booking requirement. Do not move a heavy or unstable piece just to get a better photograph.
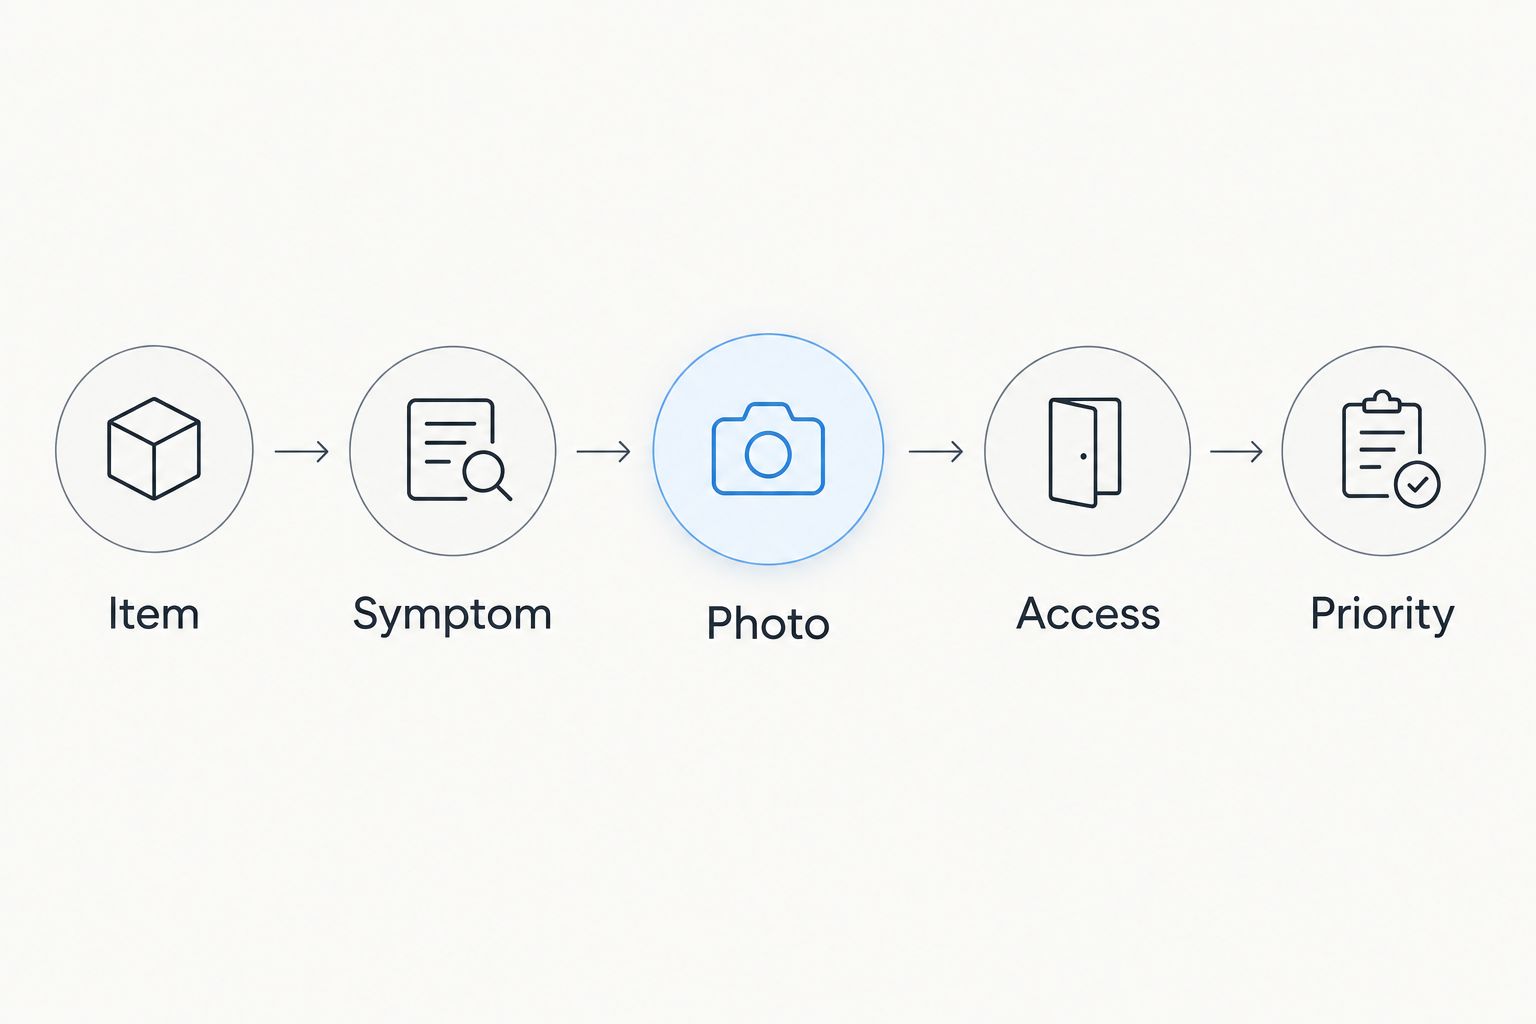
Use the same short labels throughout your repair list: Item, Symptom, Photo, Access, and Priority. This makes furniture issues easier to distinguish from cabinet or door repairs.
Keep the notes with your 2026 repair list so you can compare the condition after work is completed. A useful record tells you what changed, not just that an appointment happened.
- Item: identify the furniture and room.
- Symptom: describe the movement, noise, gap, or obstruction.
- Photo: show the whole piece and the affected area.
- Access: explain what blocks the working space.
- Priority: flag instability before cosmetic marks.
Group nearby small repairs without assuming the scope
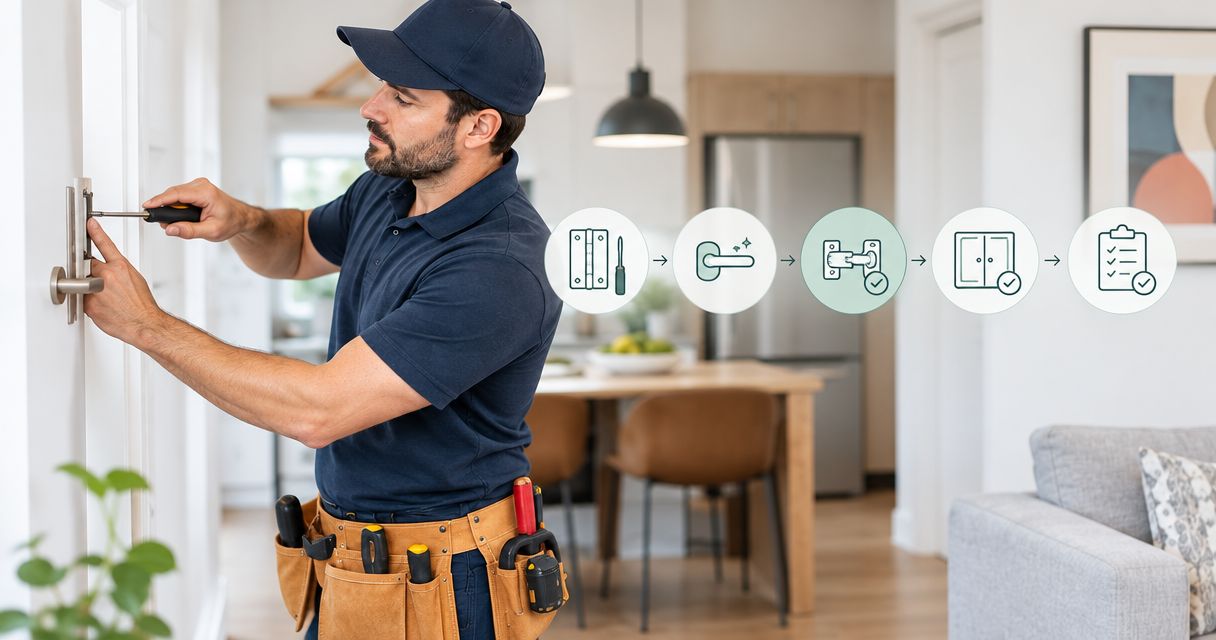
Once you have identified the furniture issue, walk through the same room and note other confirmed service needs. Keep the list focused on furniture assembly and wall mounting, door and cabinet hardware repairs, drywall repairs, and painting. Separate each task so none disappears inside a vague request for general maintenance.
Organize the list into 4 service categories: assembly and mounting, hardware, drywall, and painting. Grouping creates a clearer appointment request; it is not evidence of a discount or a promise that every task will be completed in one visit.
For a 2026 repair appointment, place safety-related furniture concerns first. Put cosmetic work after functional problems, and ask whether the proposed scope is appropriate before making arrangements around completion.
- List furniture assembly or adjustment needs by item.
- Identify each loose door handle or cabinet fitting separately.
- Photograph drywall holes and explain what caused them if known.
- Note paint touch-ups without assuming a matching finish is available.
- Ask which listed jobs can be handled together.
Prepare access and check the result after the visit
Clear the route and working area without attempting risky lifting. Remove ordinary contents from drawers or shelves when it is safe to do so, and keep small loose parts in a labeled container. Leave wall attachments and damaged joints undisturbed for assessment.
After the work, review the specific symptom with the repair professional. Check the intended operation without loading or testing the furniture beyond its instructions. Ask what remains unfinished, what needs separate attention, and how to use any adjusted fitting correctly.
Keep the completed notes in your 2026 maintenance record. Recheck the furniture after a move, an adjustment, or a noticeable change in use rather than relying on an invented universal tightening schedule.
- Clear belongings from the immediate working area.
- Set aside instructions, loose parts, and relevant photos.
- Explain access restrictions before the appointment.
- Review drawer, door, and hardware operation after repair.
- Record unresolved issues and the agreed next step.
Compare your furniture maintenance options
Choose the approach by the condition of the furniture, not by the smallest-looking screw. A simple visual check suits routine observation; damaged joints and uncertain attachments need a different decision.
The options below describe ways to handle the checklist. They do not establish that a particular repair is appropriate without inspection.
| Option | Best for | Main advantage | Key limitation |
|---|---|---|---|
| Homeowner inspection | Recording symptoms and checking accessible parts | You can organize the repair list without dismantling furniture | Observation does not establish structural safety |
| Instruction-led adjustment | An adjustment clearly covered by the furniture instructions | You follow the intended procedure for that item | It does not resolve broken panels or uncertain wall fixings |
| Manufacturer guidance | Missing fittings, model-specific questions, or unclear instructions | The guidance relates to the furniture’s design | Obtaining information does not complete the physical repair |
| Mr. Mitchell's Home Maintenance & Services | Online booking for furniture work and grouped small repairs | Several small jobs can be handled in one visit | The proposed tasks still need scope confirmation |
Manufacturer guidance and a booked repair serve different purposes. Instructions clarify the furniture’s construction; the appointment addresses the physical work within the confirmed scope. Neither should be treated as permission to keep using an unstable piece.
Book your small repair appointment
Prepare your furniture issue and nearby hardware, drywall, or painting tasks before booking.
Common mistakes NYC homeowners make
Tightening every fitting when a drawer catches
A catching drawer is a symptom, not a diagnosis. Look for the affected edge, visible damage, and the adjustment described in the instructions. Stop rather than force hardware that will not engage.
Moving furniture without planning its wall attachment
Rearranging a room changes the position of restrained furniture. Do not leave the attachment as a later task. Include both the move-related work and the attachment assessment in your request before the piece returns to normal use.
Calling furniture damage a cabinet hardware repair
A freestanding wardrobe hinge and a kitchen cabinet hinge can look similar, but the repair context differs. Identify the actual item and photograph the damaged area. This helps keep furniture adjustment separate from door and cabinet hardware work.
Booking a vague list of small jobs
A request to fix a few things hides the scope. List the furniture, room, symptom, and any drywall or painting work separately. A grouped visit starts with a grouped list, not an assumption that everything fits.
Painting over a wall problem before describing it
A mark behind furniture is not automatically a paint-only task. Describe holes, loose attachments, or peeling areas before requesting a touch-up. If the cause is unknown, say what you can see rather than labeling it a cosmetic defect.
FAQ
What should a home maintenance checklist include for assembled furniture?
A home maintenance checklist for assembled furniture should cover stability, joints, fasteners, drawers, doors, and wall attachments. Record symptoms and consult the furniture instructions before making adjustments.
How often should I check assembled furniture?
Follow the furniture manufacturer’s inspection guidance and check again after moving the item or noticing a change in normal use. Do not apply a universal tightening schedule to furniture with different fittings and construction.
Can I tighten loose furniture screws myself?
Only attempt an adjustment that the furniture instructions explain and that you can perform safely. Stop if the surrounding material is damaged, the fitting will not engage, or the piece is unstable.
Does a tall dresser need to be attached to the wall?
Follow the dresser manufacturer’s anchoring instructions and applicable product safety guidance. Do not treat apparent stability as a substitute for a required wall restraint.
Can I book furniture work and cabinet repairs together?
Mr. Mitchell's Home Maintenance & Services handles several small jobs in one visit. List furniture work and cabinet hardware repairs separately, then confirm which tasks fit the appointment scope.
What should I prepare before a furniture repair appointment?
Prepare the furniture instructions, accessible model information, photos, and a written description of the problem. Clear the working area safely and explain any access restrictions before the visit.
Should I repair furniture or replace it?
Base the decision on the damaged parts, the manufacturer’s guidance, and whether a safe repair is appropriate. A loose fitting alone does not establish that replacement is necessary, and a broken panel should not be treated as a simple tightening job.
One last thing
Photograph the gap or misalignment before making an adjustment. Your starting photo gives you a reference when checking whether the drawer, door, or joint actually changed. Keep it with the repair note rather than relying on memory.